System Cleanup Series: Downloading and Installing Driver Booster

Here's how you can download and install Driver Booster from IOBit.
This is part of my three-part How To Guide on downloading, installing, and using Driver Booster, which are part of my System Cleanup series.
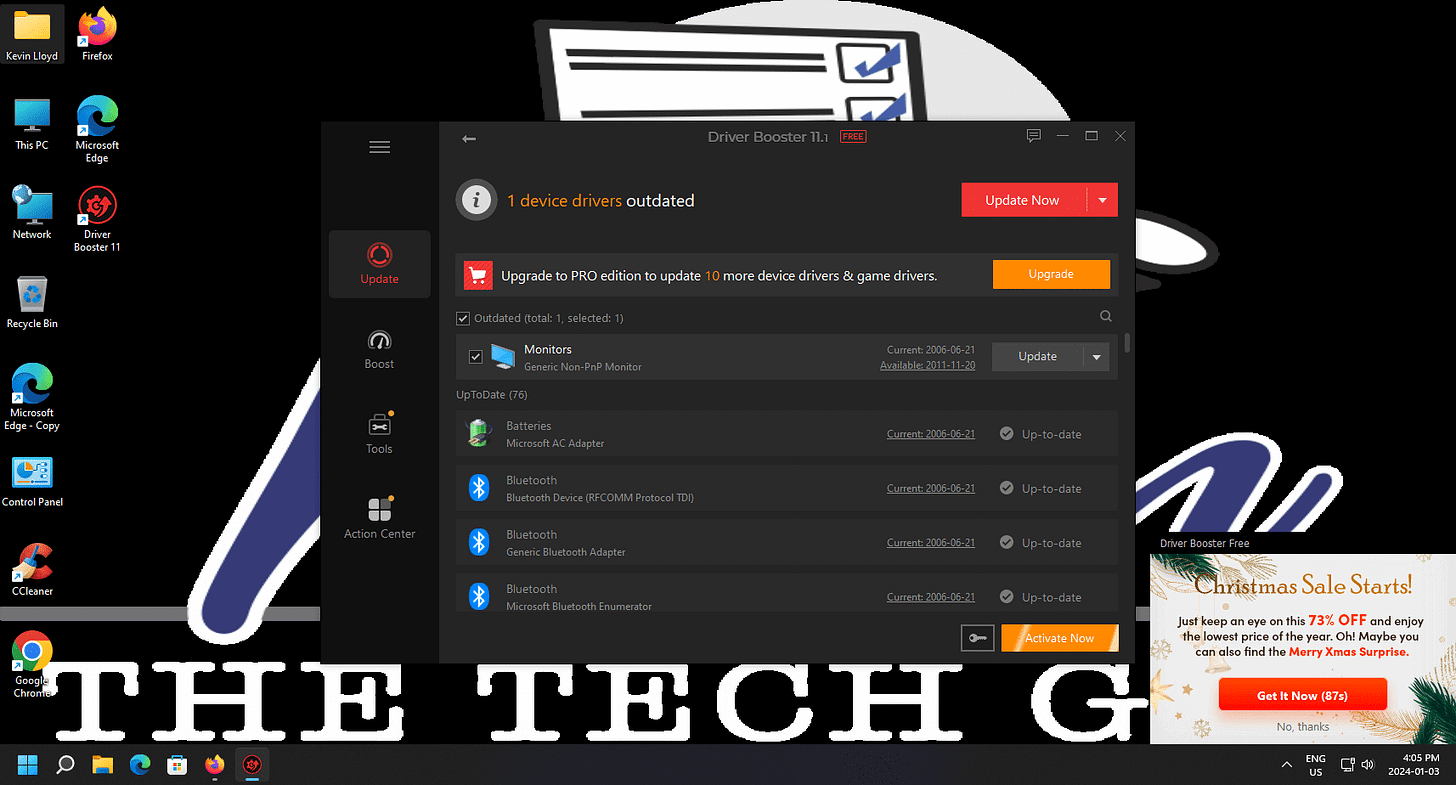
To be clear, the FREE version contains upsell messages, but the program itself is solid and works well. You can ONLY update ONE drive at a time using the FREE version. A restart of your computer may be required after each restart. Driver updates are released often, so I strongly recommend purchasing the Pro version. A discount is usually offered for the first year.
Downloading and Installing Driver Booster (this page)
Jump List
Downloading Driver Booster

Click Image To View Larger Version
On IOBit's website, single left-click on "Driver Booster" in the menu at the top and choose the FREE version, then click the big green "Free Download" button.
Choose The Free Version

Click Image To View Larger Version
Near the top of IOBit.com, hover your mouse where it says "Driver Booster", then single left-click "Driver Booster Free".

Click Image To View Larger Version
Then, single left-click the big green "Free Download Button".
Once Driver Booster has been downloaded, you should see a little message in the upper right-hand corner of the page indicating that.

Click Image To View Larger Version
Navigate to Download Location

Click Image To View Larger Version
Navigate to the "Downloads" folder via the little yellow folder icon next to the Start Menu. Double left-click the downloaded file to start the install.

Begin Install Process

Click Image To View Larger Version
Here's a close-up of the "Downloads" folder under "Quick Access" in the File Explorer left-hand pane. On the left, double-left-click the file you just downloaded.
You will see a User Account Control message from Windows asking for permission to "make changes to your device". In other words, install Driver Booster. Please choose "Yes".

Click Image To View Larger Version
User Account Control Prompt
Here's a close-up of that User Account Control prompt message.

Click Image To View Larger Version
Don't Install Right Away - Do This First!

Click Image To View Larger Version
IOBit LOVES to do upsell, but their products are solid and work well.
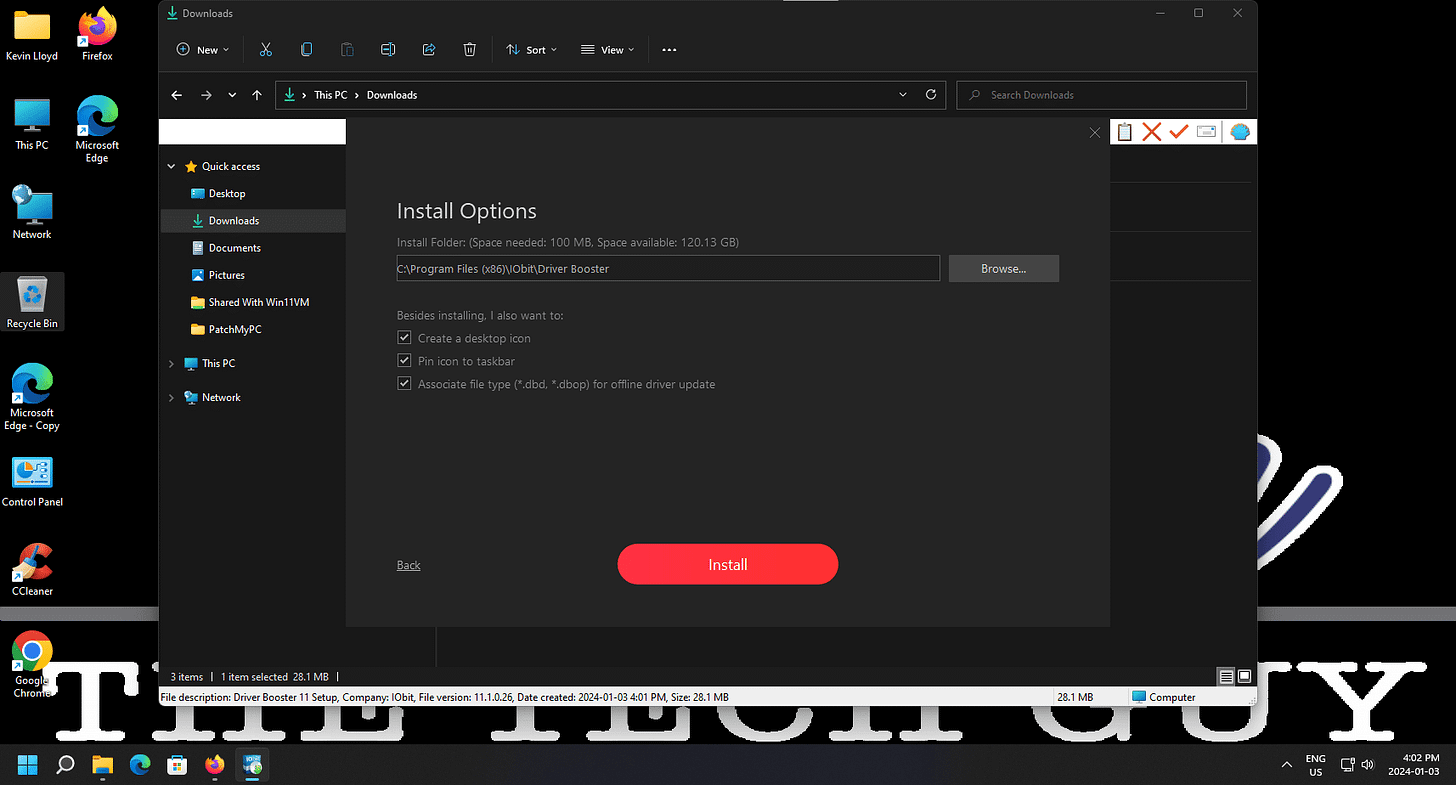
Please DO NOT just click the "install" button immediately. Uncheck the boxes for bundled trial products, then click the little "custom install" link.
More Stuff To Uncheck First
On the "Install Options" page, uncheck "pin icon to taskbar" unless you want it there, then click the big red "Instal" button.

Click Image To View Larger Version
No Thanks to iTop VPN Upsell

Click Image To View Larger Version
Next, say "no thanks" to the offer of iTop VPN, then "Install" again.
Driver Booster Installs
The FREE version of Driver Booster will now install.

Click Image To View Larger Version
One More Upsell

Click Image To View Larger Version
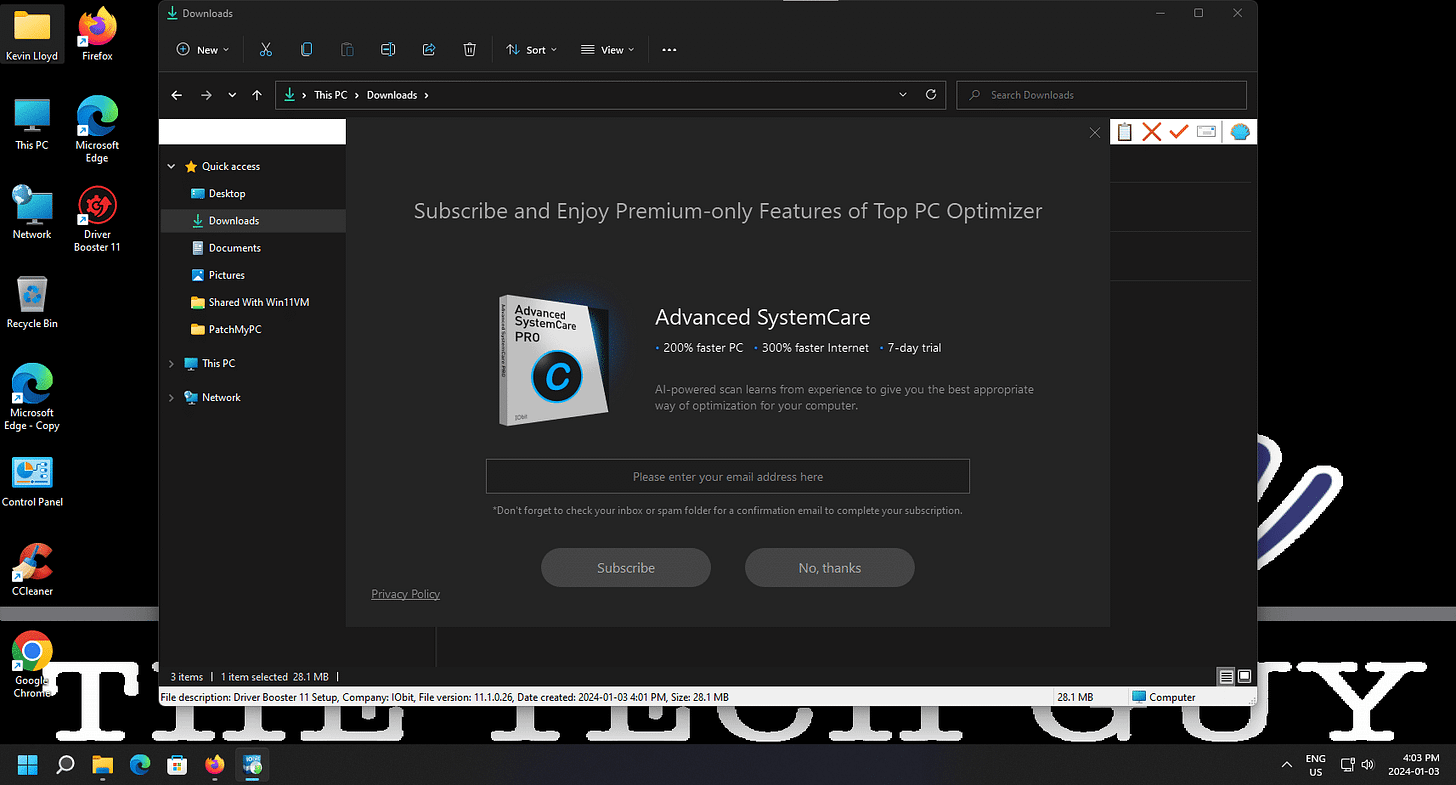
One more upsell during the install, this time for "Advanced SystemCare", a program I very much recommend on it's own, but we don't want to get it this way, so simply click the "no thanks" button.
Install Complete
Driver Booster is now installed. I recommend unchecking the "Learn more online" box, then click the "Scan Now" button.

Click Image To View Larger Version
In the next part of this guide, I will walk you through setting up the FREE version of Driver Booster. I recommend these steps before actually using the program to allow for a more user friendly experience.
Downloading and Installing Driver Booster (this page)
Thank you so much for reading this blog post! You can keep up to date with my latest posts right here on KevinTheTechGuy.ca, or via the RSS feed. You can also check out my FREE newsletter. Please consider supporting my work directly, or using Buy Me a Coffee! Your support makes my work possible.

